Hi,
There is a new release
everpano 3D 1.5.0
Virtual Tours reimagined
What's new :
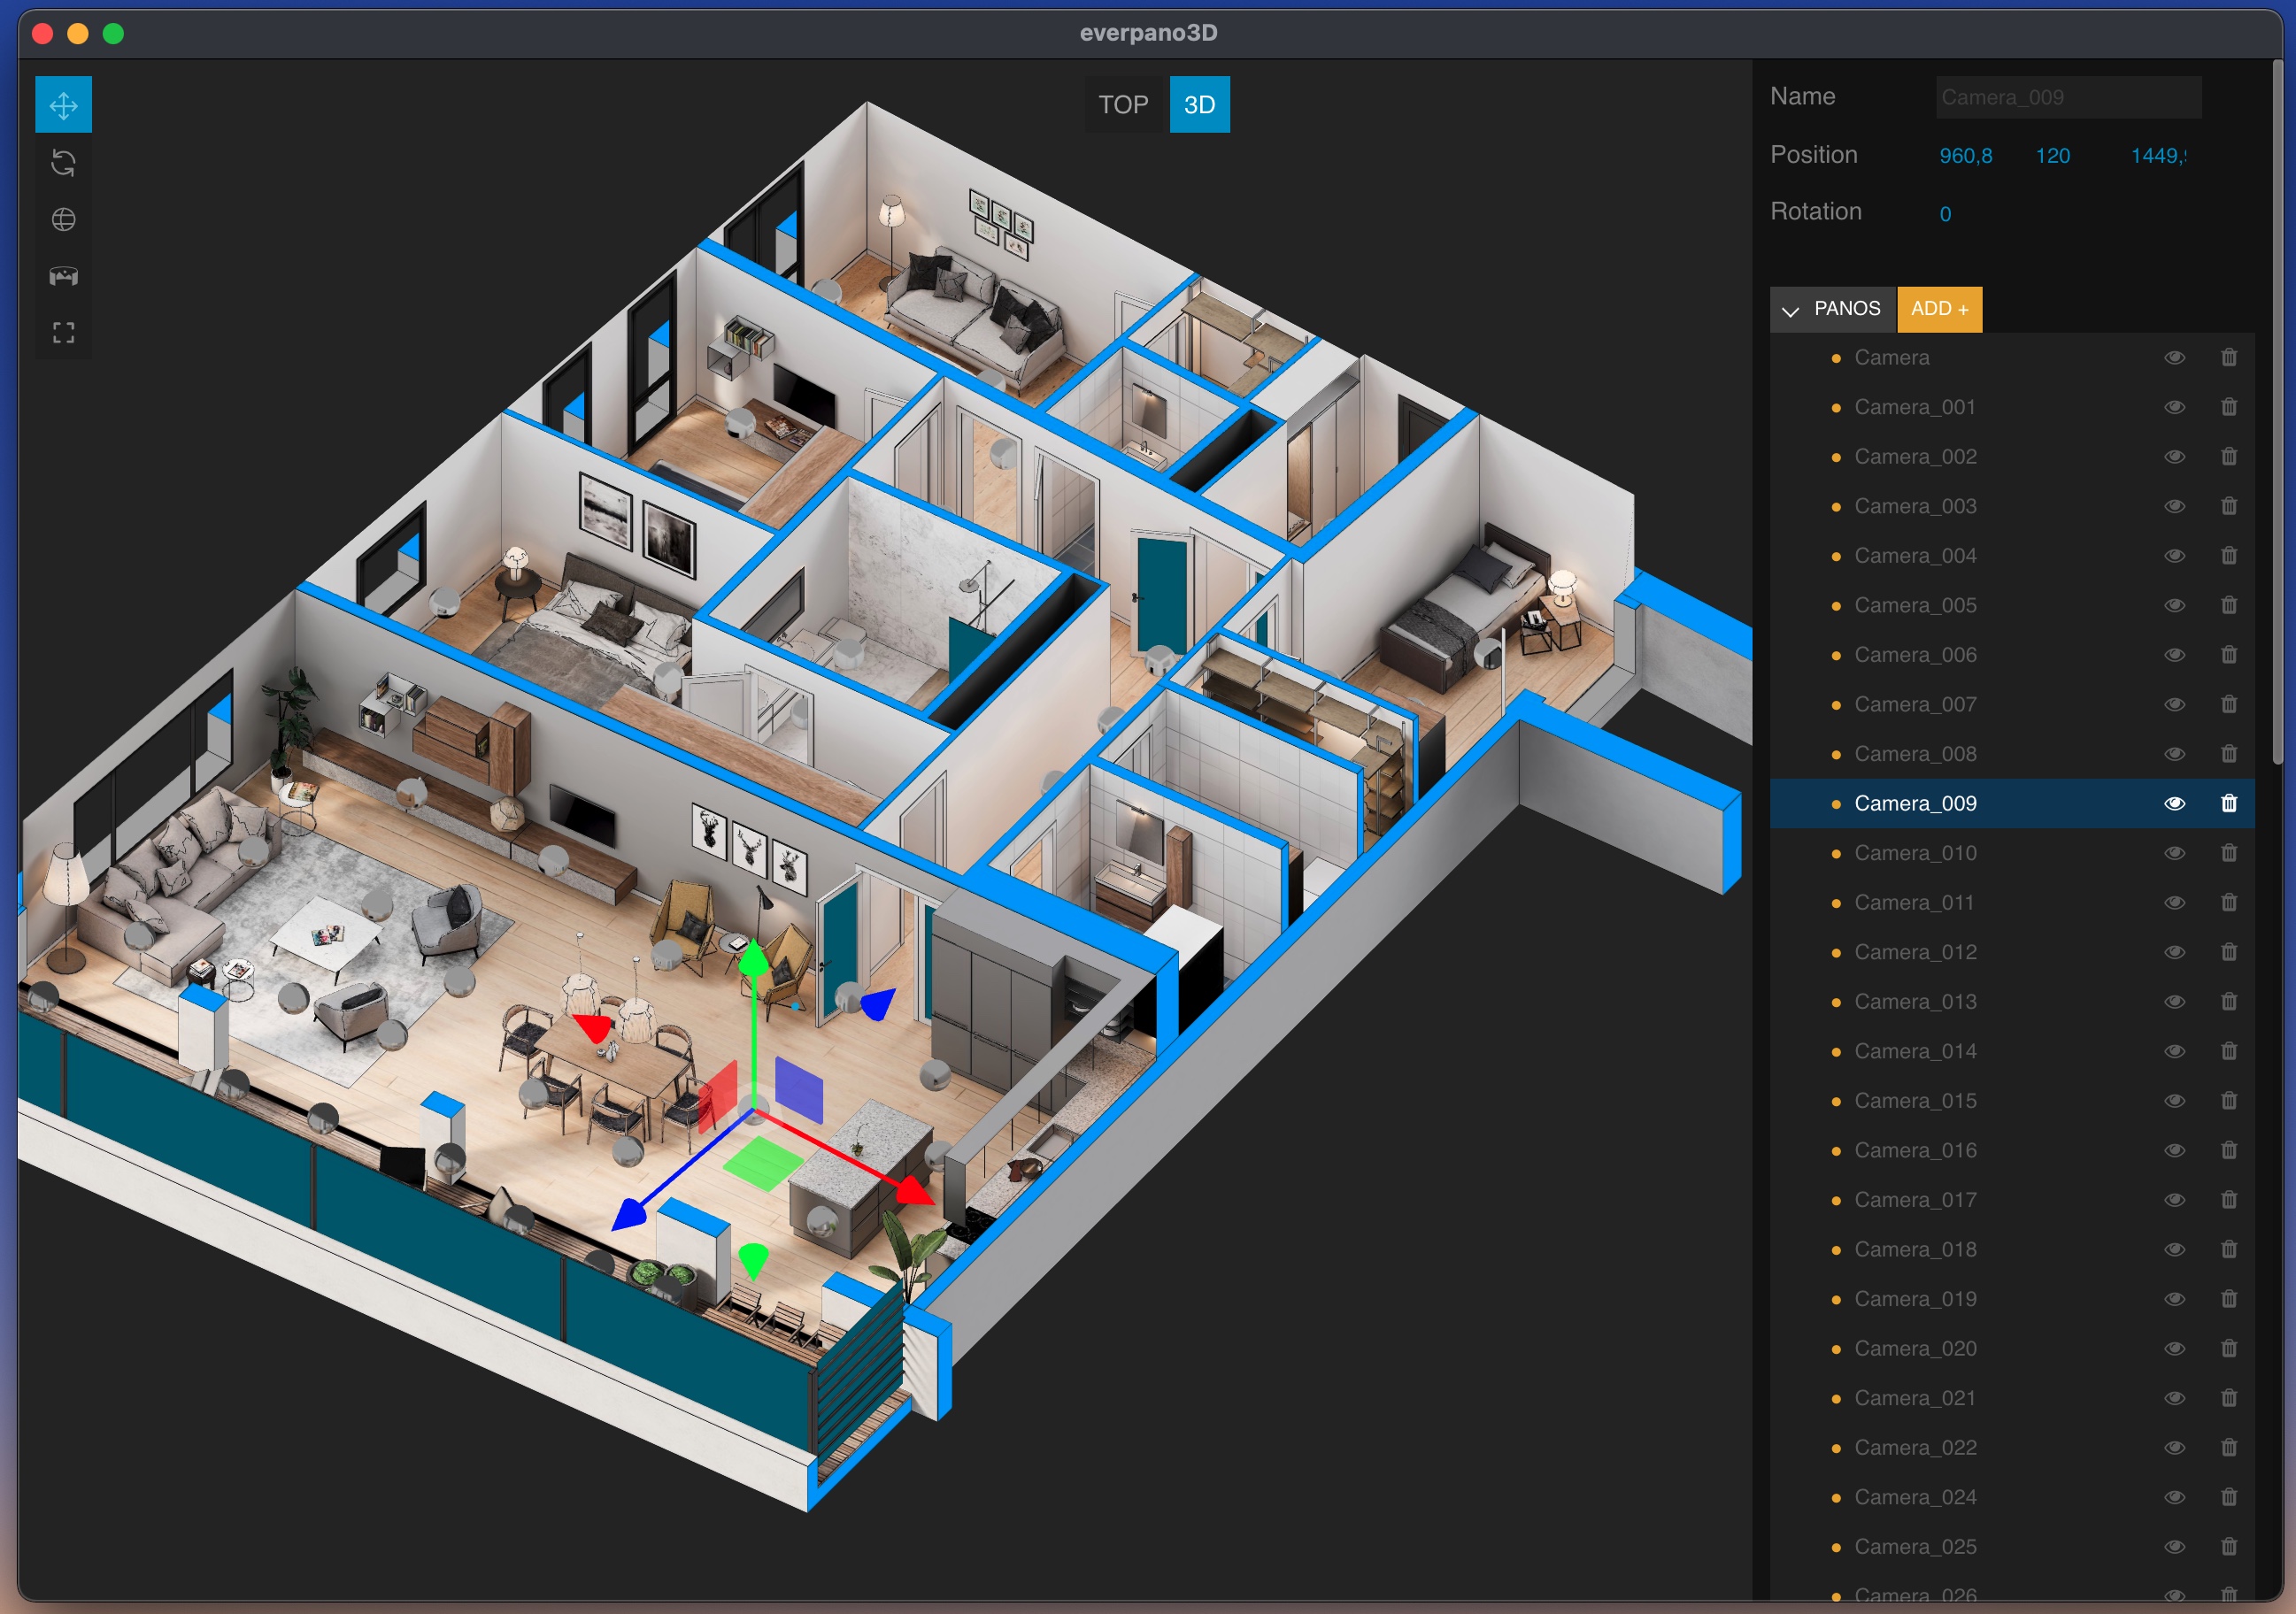
Import 3D models
Now you can use everpano not only for modelling, but also for importing 3d models generated by third party software, like Blender, Maya, 3dmax, Sketchup ...
And on the other hand import the rendered panoramas from the model, and create a 3D virtual out of it.
Is this new release only for those who use CGI software ?
While this release was initially though for the cgi users, because many of you were asking for such a feature,
on the way of implementing all the necessary features, I came across with new ideas that broaden the scope of the new version.
Those ideas were basically about photogrammetry and lidars, so in that regard, a new way for creating virtual tours based on panoramas, was being defined, were the users did not even need to make panoramas in the field, they could be generated in postproduction from a 3d model.
What is CGI ?
Computer Generated Imagery, creates still or animated visual content with computer software.
CGI is also called 3D imaging or 3D Rendering. CGI usually refers to the 3D computer graphics used to create characters, scenes, and other special effects in movies and games. This technology is also used in advertising, architecture, engineering, virtual reality, and even art. In traditional photography, film or a digital camera captures an image where computer-generated images are created in computer software.
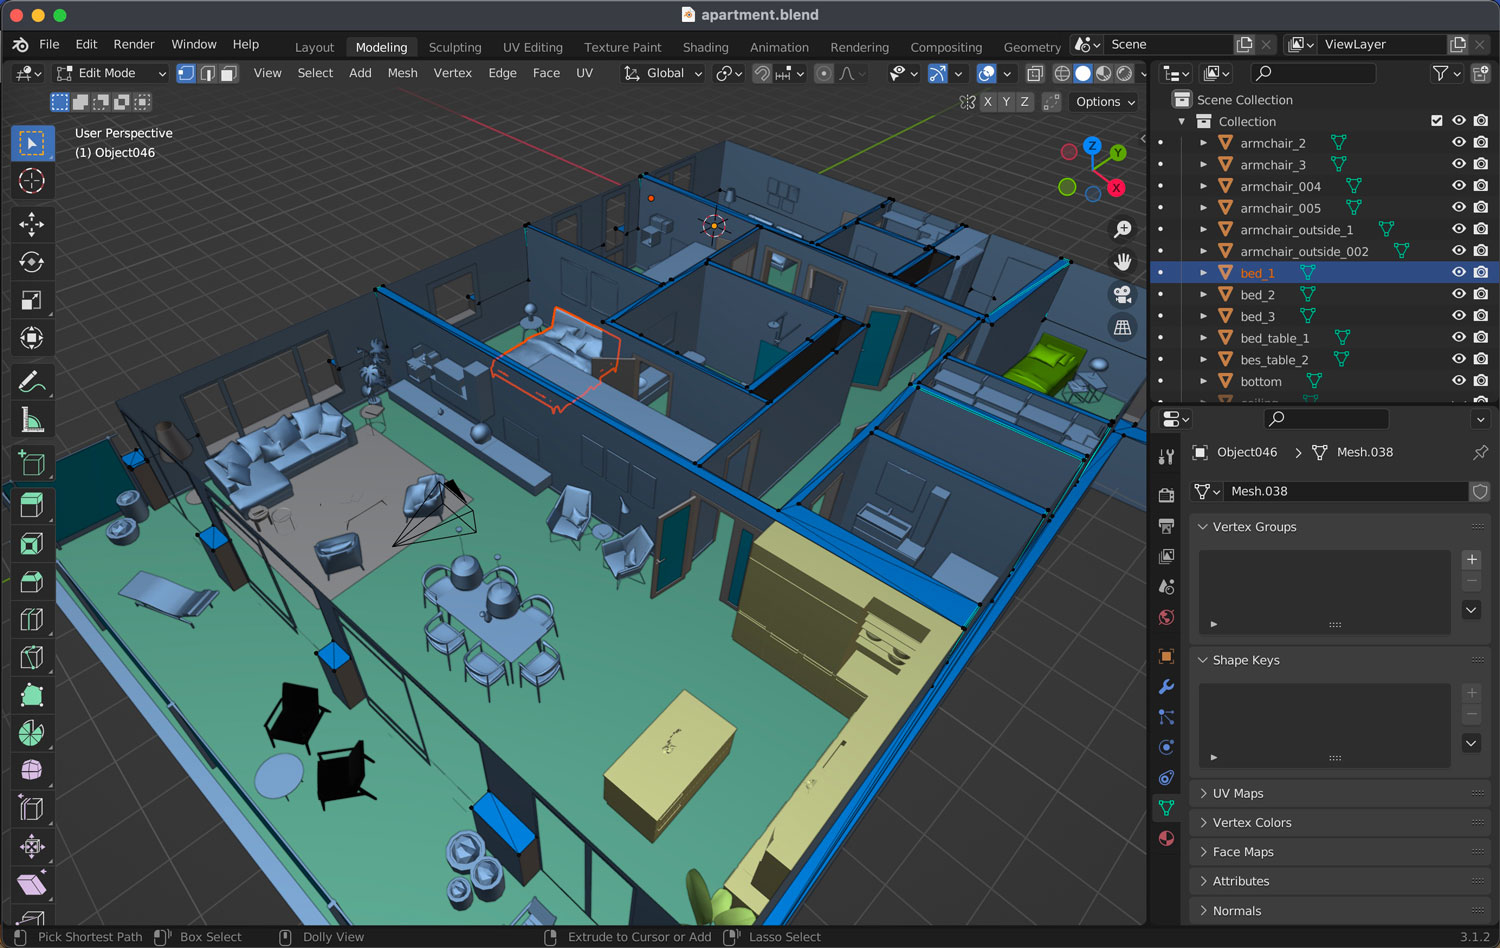
Creating 360 panoramas from 3d models in blender is quite simple, you can take a look at this short tutorial
What is Photogrammetry ?
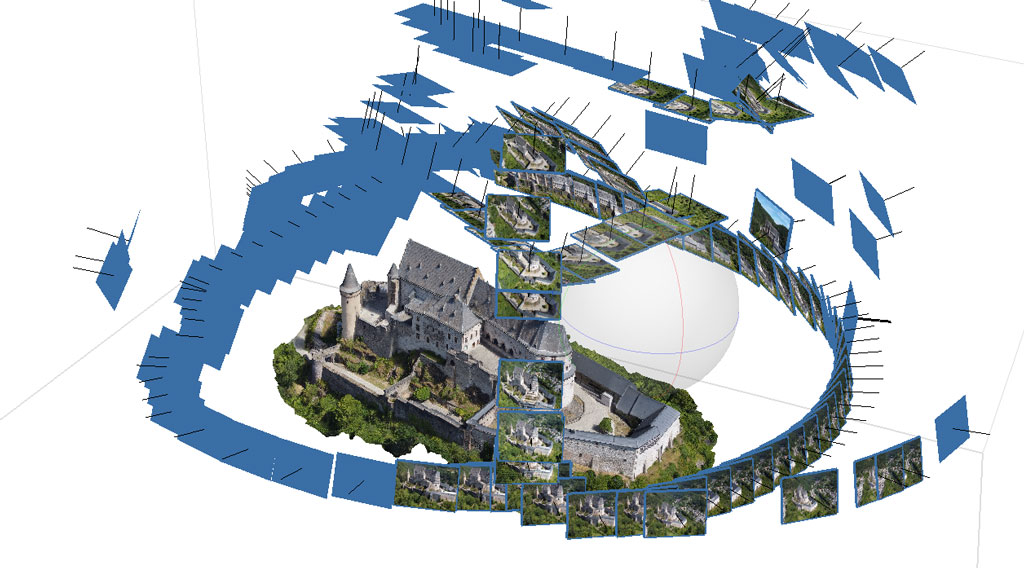
Photogrammetry is the process of taking multiple photographs of an object or building, or landscape from a multiple angles and matching them together using common control points to create a 3D mesh out of it with realistic textures.
Any digital camera can be used with specific software that detects those common points between the diferent images and from that information it can reconstruct an initial point cloud, which is then converted into a mesh.
Later in this post I will talk about what software can be used to fit our goals.
What is a Lidar ?
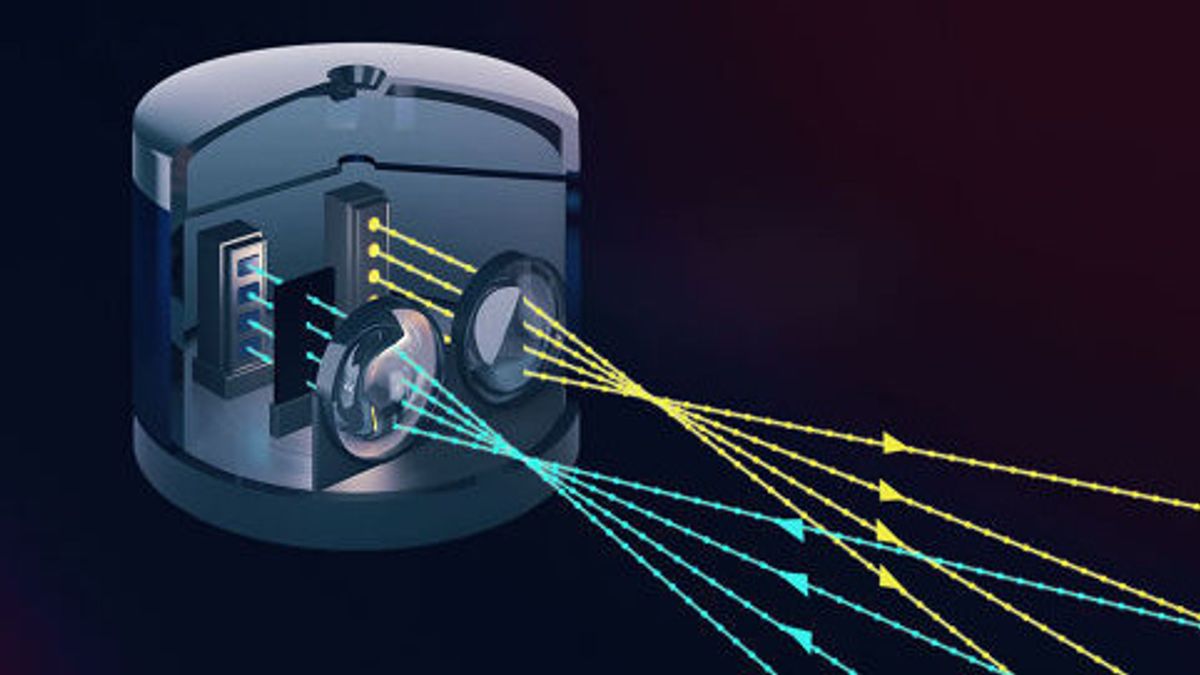
Lidar is an acronym for Light Detection And Ranging or Laser Imaging Detection And Ranging.
Is a technology for determining the depth of a specific target using a laser and measuring the time for the reflected light to return to the receiver
Why also using panoramas ?
While you may think that navigating through the 3d model would be enough, the great advantage of using pre rendered panoramas is that you can make, extensive light and texture calculations on high specification computer, generating a great image that could never be calculated as it is in real time, and therefore giving much more realism to the project.
On the other hand the software gives tools to make it more flexible, so you can use real world panoramas merged with models that has been generated using photogrammetry for example, that will give you the best of both worlds, so while you can have acces to 3d information of the model, you can still have all the realism of a real panorama.
Use cases for the new release :
-
Those users who are making tours of non existing locations, by modelling them with CGI software, can now import those models and the rendered panoramas
-
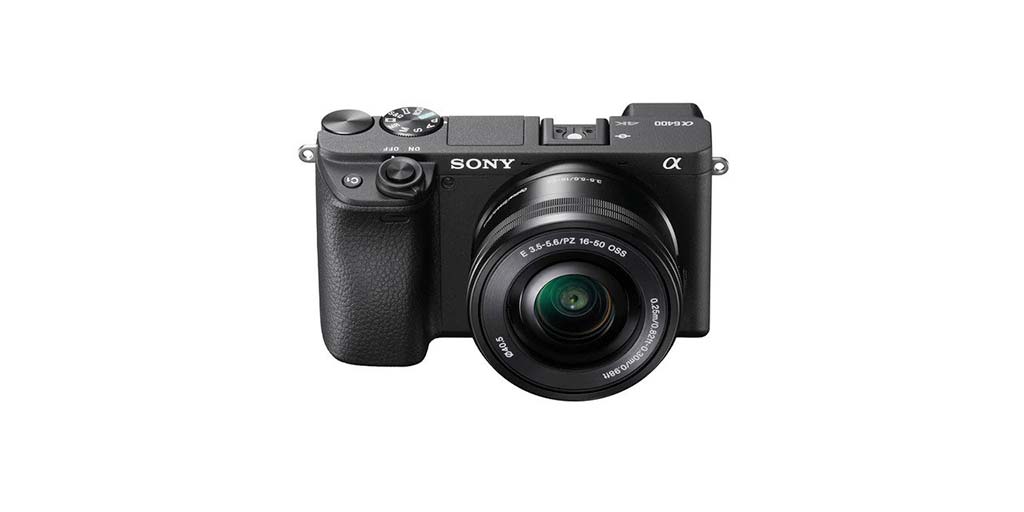
You can make 3d models just by taking multiple images from different angles, you don't even need a tripod if the light conditions are enough for hand held shooting.
Once you have your model with textures you can generate panoramas from the high density and high texture reconstruction.
You should make a simplified model and a single texture for the web project
Using the everpano script for blender you can render all panoramas in a single click and also create the JSON file with all camera positions for creating the everpano 3D project
You can see a video on how to create it here
You can download the everpano blender addon here
Here small and quick overview of the process
-
There are some Lidars that are able to generate colored point clouds, which can be converted to meshes and also to panoramas. Some of this hardware could be :
While this type of hardware tends to be very expensive like the leica blk360 around $18.000.
We have other alternatives like the integrated Lidar in the iphone 12/13 pro max, or in the ipad pro
That together with some specific apps can generate a 3d model.
Then you can shoot some quick panos using a ricoh theta camera, and finally merging all data using everpano 3D.
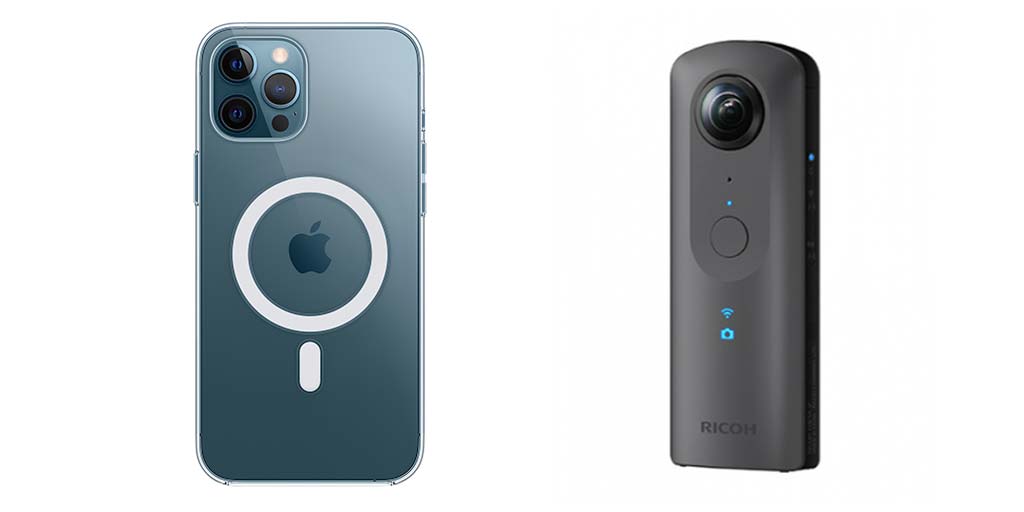
-
Using a drone to capture images and video for photogrammetry reconstruction, and ground panoramas using a ricoh theta camera
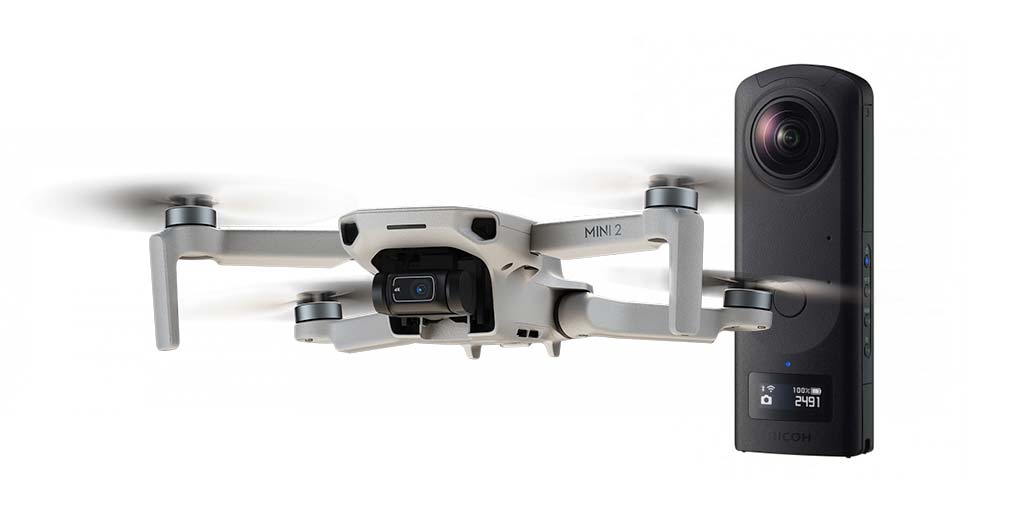
-
This is a really broad field and many new pipelines can be defined, I already have a couple more on my experimental bench, which will be presented during this month.
- The first one is about matterport
- The second one will need to wait a bit to be disclosed...
Just figure out new ways to create 3d virtual tours.
What photogrammetry software should be used
The market of software for reconstructing 3d models from images and other sources is quite big you can find multiple apps, here a short list of the ones that I consider most apporpiate :
-
That would be my initial recomendation, it works on mac & windows, it's very complete, you have the professional version and the standard. I would higly recommend the standard version, it's $179, which already has all the features taht you will need to create virtual tours from fieheye images as defined in the pipelines above.
-
Seems to be the most complete, powerful and accurate. It has an interesting payment method, where user pay per input, so you can just download it test it, make your project and when you want to license your project you pay for the amount of input you used, even all the calculation is done in your computer.
You can also use multiple source of information, like combining lidars and images, and seems to be very ideal to combine indoor and outdoor models.
-
Open source project available for Windows and Linux, has an easy pipeline, but from my experiemtns is not fast and not that much accurate as others, also has some issues using fisheye images
-
Very complete set of tools, I could not test it personally but it's amongst the best software in the topic.
How does it works
So the process is very simple, now when you create a new project, you can choose between 2 types of project :
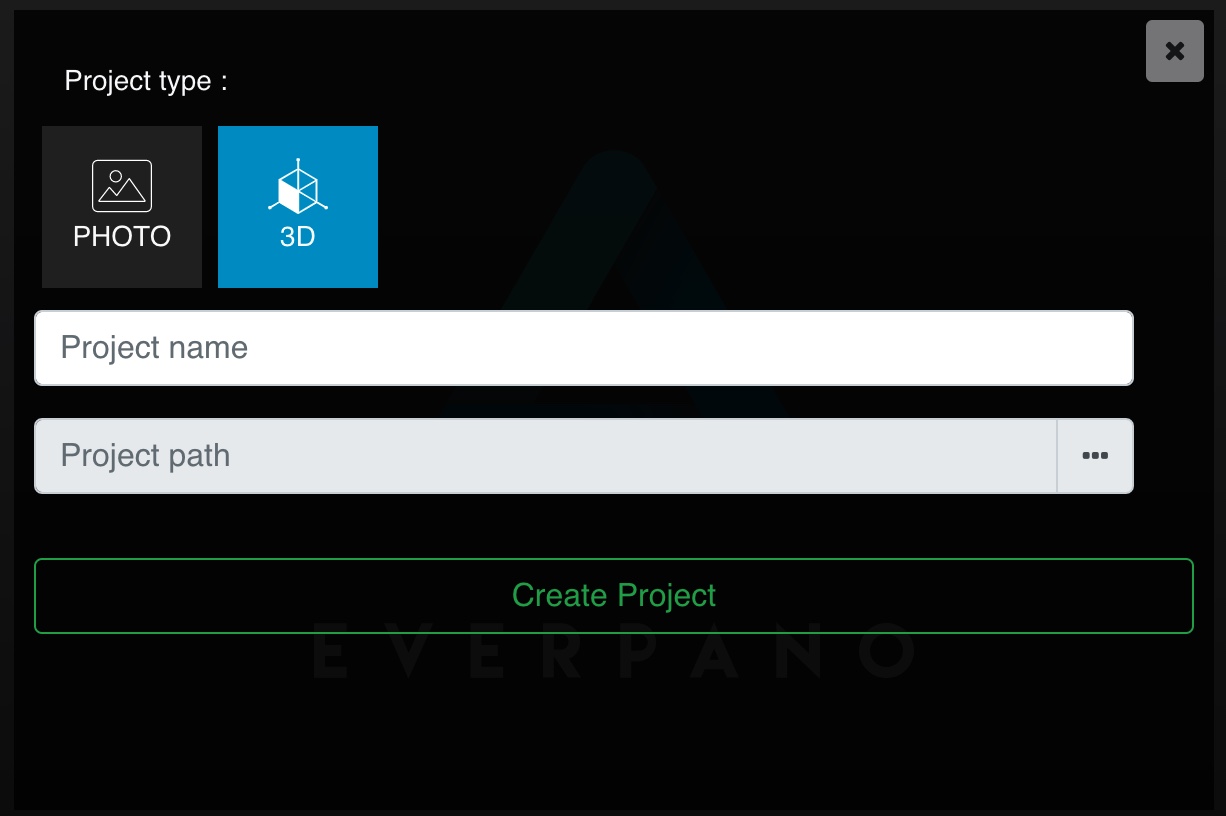
After selecting the type of project as 3D we can set the project name and the project path as usually, and press the create project button
After that we need to drag our content to the project. We used to just drag panoramas, now this is a bit different :
You can do it with 2 methods :
- Dragging a JSON file that already contains all the necessary information
- Dragging all necessary files, which at the end will create a JSON file
Which are the necessary files for creating a 3D project ?
- panoramas
- obj model
- texture file
- optionally you can drag a simplified model for the raycasting system
Why should I need a simplified model ?
Some times the models coming from cgi or from photogrammetry can have thousands of faces, that will put into trouble the raycasting system, that's why everpano 3D allow to load a simplified model that will be used
only for the raycasting, so for making measures and for orienting the mouse hotspot.
The other model will be used as the dollhouse model.
How can I easily
simplify the model ?
While every 3d modelling software may has it's own method, with blender is very easy and straight forward, you can follow this simple
tutorial
How is everpano 3D able to figure out which is the
texture file and the
raycast model ?
There are naming conventions to indicate that so, for the
texture file it needs to contain the word "texture"
For the
raycast model the obj file must contains "_min" or "_raycast"
The JSON file
This file contains all the definitions from your project, the main parts are :
- model
- project
- panoramas
- evertags
Here a simplified example of the JSON file
If you drag all the necessary files defined above you will get a JSON file as a blueprint for your project
{
"model" :
[
{
"name": "model",
"modelPath": "/path/to/your/model.obj",
"modelMinPath": "/path/to/your/model_min.obj",
"texturePath": "/path/to/your/texture.jpg"
}
],
"project":
{
"name": "Project Name",
"unit_system": "metric",
"units": "mt",
"align_panoramas": false
},
"panoramas" :
[
{
"name": "pano name 0",
"path": "/path/to/your/panorama0.jpg",
"position" : {"x":-30.000, "y":1.400, "z":0.340},
"rotation" : {"x":0.000, "y":0.000, "z":0.000}
},
{
"name": "pano name 1",
"path": "/path/to/your/panorama1.jpg",
"position" : {"x":-28.000, "y":1.400, "z":0.340},
"rotation" : {"x":0.000, "y":0.000, "z":0.000}
}
],
"evertags" :
[
{
"title":"evertag 1",
"color":"#fafafa",
"type":"link",
"content":"https://www.everpano.com",
"id":0,
"position":{
"x":1.000,
"y":1.400,
"z":0.000
}
}
]
}
* The rotation of the panoramas is defined in degrees
* All the position values must be in the same unit as the one defined in the project.units
* Units can be :
- ki ( 100000 )
- he ( 10000 )
- da ( 1000 )
- mt ( 100 )
- de ( 10 )
- cm ( 1 )
- mi ( 0.1 )
* Default unit is centimeters (cm)
Can I still use the evertags in 3d model projects?
Yes, of course, as you have seen above they can initially be defined in JSON file, and also you can simply add new evertags anytime, to the project by clciking the add + button you will find in the evertag section.
By default is going to create it in the 0,0,0 position and you can just drag it to any location you want.
Setting up the height of panoramas and evertags
In order to make it easier to arrange the height of all the elements in the 3d model, everpano 3D , has and in built feature that will calculate the ground location at any position.
So if you know that the camera was exactly at 120 cms from the ground, but you do not know the ground heigt at that location (which will be mostly the case) you can just use the shortcut
Shift + H that will open a modal window that allow to set the height of the selected element or from all the elements of it's type (panos or evertags)
everpano 3D will try to find the mesh position in that XZ location and add the amount you input. If there is no intersection with the mesh at that point, 0 will be the initial height.
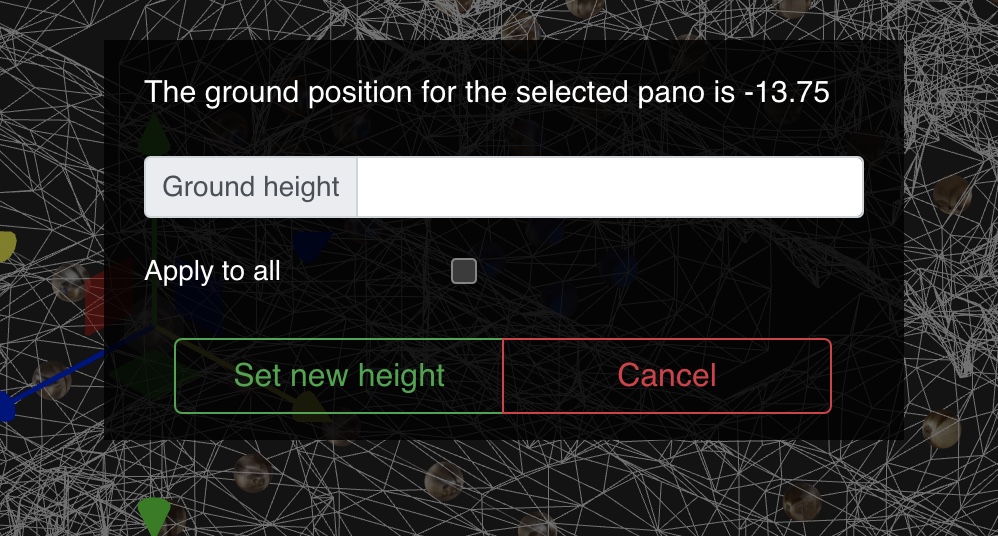
You can select the checkbox to apply the height to all the elements of the same type (panos or evertags)
Note that the units are in cms
Other small implementations :
- Flipping the winding direction of the polygon
If the decision of the polygon winding direction was wrong, now you can correct it.
While rendering your project everpano 3D will attempt to fix the winding direction of every polygon, to make it look into the correct side, but sometimes it can make a wrong guess, so now by pressing
Shift + F a new modal will open to alow you force to flip the direction of the polygon
What's next - Roadmap :
- Adding extra usage cases
- Unified documetation
- Blog with articles in everpano website
- More project types
- Different management for merging panos into models
- ...
Author Note
I know that maybe there are some topics that are not covered that much, such as all the photogrammetry knowledge behind the scenes, which is a really large topic on itself, but on one side it's plenty of tutorials from the different software, and on the other side, I will be publishing as fast as posible, quite large tutorials, where I will explain all the detaills about the different processes.
On the other side I wanted to prepare more and better examples, because I have plenty of material for doing so, but I would never have finished if I tried to show all the examples I have in the basket, also the app is ready for the release, and I wanted to give some basic information and allow you to start playing around with all those new concepts.
Finally today is 3 years since the first release of everpano 3D, and being here today with those new pipelines and efatures was something I could not expect in the begging of this journey.
“Ideas are the source of all things.” - Plato


