Hi,
for depthmapped-panos to 'fill holes' you can either use:
rendermode="depthmap"
or:
background="pano"
And for textured 3D-models it is possible to include a separate background pano (e.g. a sky) using:
backgroundurl="bgpano.jpg"
Best regards,
Klaus
Alles anzeigen
Klaus
this code and now when i use <display depthmaprendermode="depthmap" />
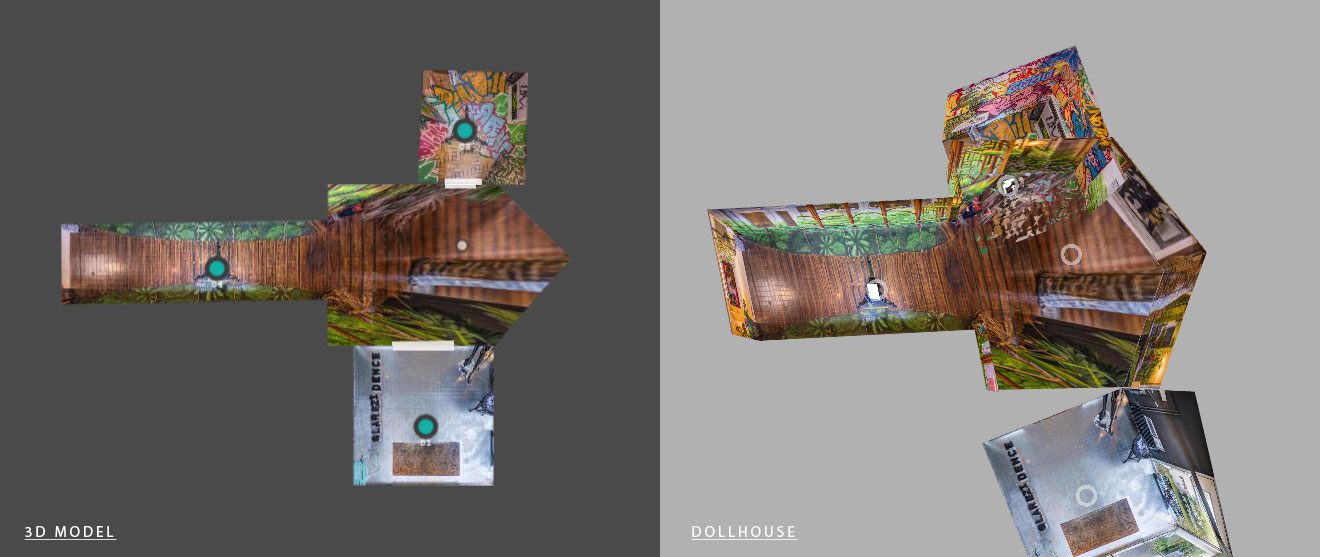
The transition from panorama to panorama becomes like a fisheye mode from a sphere. a sphere constantly appears during the transition and the transition is not the same as it was originally in this mode - <display depthmaprendermode="3dmodel" />
could ypu tell me please where i must right this "backgroundurl="bgpano.jpg" or
this "background="pano"
Please tell me which folder to copy the panorama to, the one that will be the background. apparently if I call it "panoback.jpg" then add the same name in the xml file. And how do I remove this sphere so that it doesn't appear every time when switching from panorama to panorama so that there is a standard everpano transition?
My xml
<krpano modelPath="%VIEWER%/assets/model3d/model.obj">
<display depthmaprendermode="depthmap" />
<display depthbuffer="true" />
<!-- <display depthmaprendermode="depthmap" /> -->
<!--
depthmaprendermode:
- "depthmap" (default)
- generates an internal 24bit depthmap image
- fastest to load
- no "holes", everything is "connected/filled"
- not perfectly accurate
- "3dmodel"
- uses the 3d model and maps the pano onto it
- slower because the 3d model internally needs to get sub-divided into many small triangles
-->
<!-- PANORAMA POSITIONS -->
<style name="everpano3d_output_2" ox="36.000" oy="-122" oz="-355" linkedscene="scene_output_2" />
<style name="everpano3d_output_3" ox="-109.000" oy="-165" oz="292" linkedscene="scene_output_3" />
<style name="everpano3d_output" ox="395.000" oy="-108" oz="-318" linkedscene="scene_output" />
<!-- SCENES -->
<!-- model3d -->
<scene name="scene_model3d" autoload="true" type="model3d" onstart="initial_model3d_view()" thumburl="%VIEWER%/assets/model3d/snapshot.jpg" thumbSize="250,147">
<view hlookat="0" vlookat="0" fov="120.00" fovtype="MFOV" maxpixelzoom="2.0" fovmin="70" fovmax="140" limitview="auto" />
<preview url="%VIEWER%/assets/model3d/preview.jpg" />
<image ev_x="116.047" ev_y="-911.3315" ev_z="1552.62" hdir="84.141" vdir="65.681" fov="90" >
<sphere url="%VIEWER%/assets/model3d/texture.jpg" />
<depthmap url="%VIEWER%/assets/model3d/model.obj" rendermode="3dmodel" scale="1" textured="true" cull="front" subdiv="10000" waitforload="true" />
</image>
</scene>
<!-- output_2 -->
<scene name="scene_output_2" type="panorama" menu="true" model="true" title="output_2" alt="100" thumburl="assets/panos/output_2.tiles/snapshot.jpg" >
<view hlookat="0" vlookat="0" fov="120" fovtype="MFOV" maxpixelzoom="2.0" fovmin="70" fovmax="140" limitview="auto" />
<preview type="CUBESTRIP" url="%VIEWER%/assets/panos/output_2.tiles/preview.jpg" />
<image style="everpano3D_output_2">
<cube url="%VIEWER%/assets/panos/output_2.tiles/pano_%s.jpg" />
<depthmap url="%VIEWER%/assets/model3d/model.obj" center="-355,122.000,-36" subdiv="10000" enabled="true" scale="1.0" />
</image>
</scene>
<!-- output_3 -->
<scene name="scene_output_3" type="panorama" menu="true" model="true" title="output_3" alt="100" thumburl="assets/panos/output_3.tiles/snapshot.jpg" >
<view hlookat="0" vlookat="0" fov="120" fovtype="MFOV" maxpixelzoom="2.0" fovmin="70" fovmax="140" limitview="auto" />
<preview type="CUBESTRIP" url="%VIEWER%/assets/panos/output_3.tiles/preview.jpg" />
<image style="everpano3D_output_3">
<cube url="%VIEWER%/assets/panos/output_3.tiles/pano_%s.jpg" />
<depthmap url="%VIEWER%/assets/model3d/model.obj" center="292,165.000,109" subdiv="10000" enabled="true" scale="1.0" />
</image>
</scene>
<!-- output -->
<scene name="scene_output" type="panorama" menu="true" model="true" title="output" alt="100" thumburl="assets/panos/output.tiles/snapshot.jpg" >
<view hlookat="0" vlookat="0" fov="120" fovtype="MFOV" maxpixelzoom="2.0" fovmin="70" fovmax="140" limitview="auto" />
<preview type="CUBESTRIP" url="%VIEWER%/assets/panos/output.tiles/preview.jpg" />
<image style="everpano3D_output">
<cube url="%VIEWER%/assets/panos/output.tiles/pano_%s.jpg" />
<depthmap url="%VIEWER%/assets/model3d/model.obj" center="-318,108.000,-395" subdiv="10000" enabled="true" scale="1.0" />
</image>
</scene>
</krpano>


and more in this mode "rendermode="depthmap""
for some reason, artifacts appear on straight lines. they're crooked. maybe I simplified the model too much. there are holes in it.

link https://bagurman3d.ru/biggurman/plug…tour/index.html